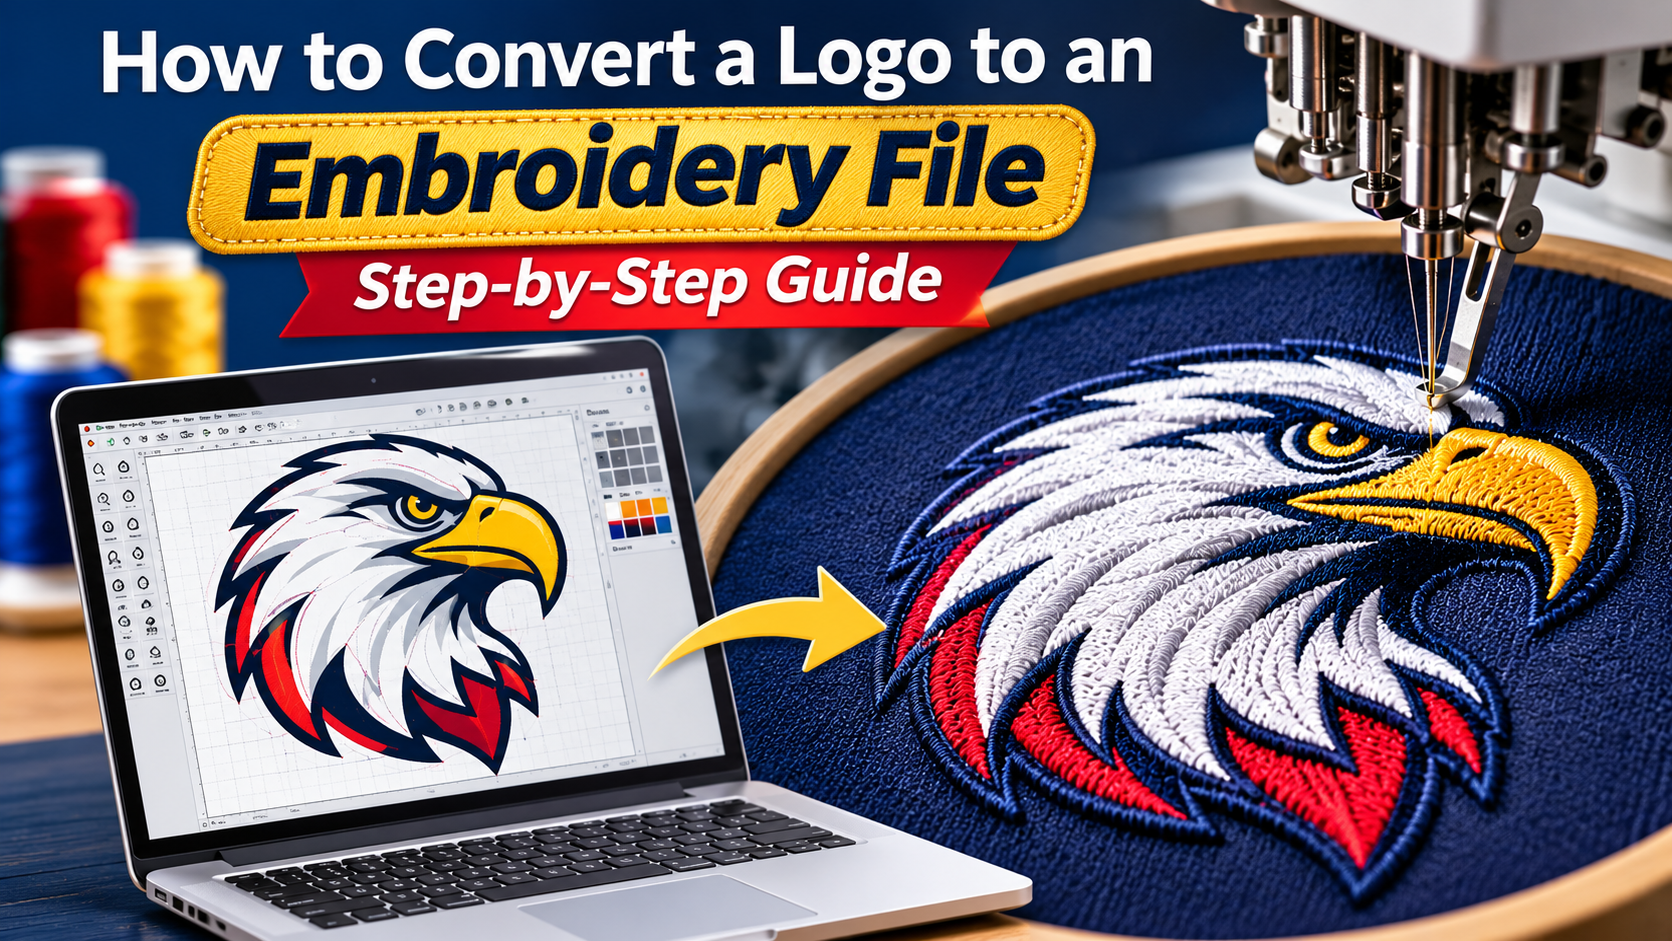
Taking a brand to reality with the help of needle and thread is indeed quite an interesting feat, but running into the obstacle of having your embroidery machine not be able to read a regular image file can be quite a challenge. To successfully convert a logo to an embroidery file, you need to translate flat pixels and turn them into machine language such as coordinates, stops, and thread direction.
Here is your guide to successfully acquiring the skills necessary for learning this process and deciding on whether to digitize the threads yourself or to outsource it.
What Is an Embroidery File (and Why a PNG Won’t Stitch)
An image editor stores the colors in raster grid form (PNG/JPG). Embroidery machines, on the other hand, work with proprietary vector pathing files that dictate where to place the needle, when to cut, and how tight to pack the threads.
Converting a file extension from PNG to DST in your computer folder will render the file unusable by your machine. You must process the design through specialized digitizing tools.
Common embroidery file formats include:
- DST: The industrial standard across Tajima and most commercial multi-needle machines.
- PES: Designed for Brother and Baby Lock home/multi-needle systems.
- EXP: Standard format for Melco and Bernina commercial machines.
- JEF: Specific to Janome home embroidery setups.
- VP3: Used primarily by Pfaff and Husqvarna Viking equipment.
Vector graphic source files (SVG, AI) will provide you with an enormous advantage compared to the low-resolution pixel files because they will contain clean geometric paths. If you have a low-quality pixel file, you can use a special vectorization service to reconstruct the basic structure of your design.
Logo File Types vs Embroidery Formats at a Glance
Knowing where you are and where you need to be will save you hours of frustration. Here is how artwork types compare to actual machine formats:
| Category | Format | What It Is | Best Used For |
| Logo (Source) | PNG / JPG | Raster pixels | Visual reference only; needs manual redrawing |
| Logo (Source) | SVG / AI | Vector mathematical paths | Ideal starting artwork for digitizing |
| Embroidery (Stitch) | DST | Commercial universal stitch data | Industrial machines (Tajima, Barudan, SWF) |
| Embroidery (Stitch) | PES | Brother embroidery format | Home and multi-needle Brother machines |
| Embroidery (Stitch) | EXP | Melco/Bernina stitch format | Melco and select commercial Bernina heads |
| Embroidery (Stitch) | JEF | Janome machine format | Janome home and craft embroidery units |
Step 1: Start With the Best Version of Your Logo
Find the original vector format of the artwork first (like SVG, AI, and EPS), rather than opening the application first. Vector artworks use mathematically plotted paths instead of pixels, and you will have crisp lines for tracing.
When you only have a poor-quality JPG file or an unsharp screenshot, do not try to improve its quality with soft edges. Pixelated borders result in rough stitching lines and thus lead to irregular edges. Do it with the help of vectors before starting.
Consider where you will be located from the very beginning. The design of a flat left-chest polo shirt should be adjusted in a way that is different from the 6-panel cap design.
Step 2: Clean Up and Simplify the Artwork
Moving from logo to embroidery means designing for real thread, not digital monitor pixels. Thread has physical thickness, so minor graphical details must be adapted:
- Eliminate Gradients: Threads cannot blend infinitely like screen pixels. Swap smooth gradients for solid color blocks or step-blended stitch rows.
- Remove Hairlines: Lines thinner than 1 mm vanish or snag during sewing.
- Fix Lettering: Tiny text below 0.15 inches tall typically bunches up. Use clean block fonts or upscale letter height using specialized small letter digitizing techniques.
- Reduce Unnecessary Colors: Combine similar colors to reduce stop and trim actions and machine usage.
With sharp edges and simple graphics, you are now ready to define stitch types for all sections of your logo.
Step 3: Choose Stitch Types (Satin, Fill, Running)
Combining geometric shapes with the right stitch types will stop puckering and ensure durability:
- Satin Stitch: Best used on borders, narrow stripes 1.5 mm to 8 mm, and lettering. Creates a raised glossy effect.
- Fill (Tatami) Stitch: Used for broad background shapes and large logos. Rows of offset stitches alternate to cover the fabric evenly without snags.
- Running Stitch: Single-line stitch perfect for thin borders, fine detailing, or travel paths hidden beneath the layers of main stitches.
Once stitch types are picked, fine-tuning the underlying structure and spacing is what keeps fabric flat during production.
Step 4: Set Stitch Density and Underlay
When creating an embroidery file setup for any logo design, density and underlay should be compatible with the fabric that you have chosen.
- Stitch Density: The standard density is 0.4 mm of space between needle drops. Tight density results in fabric puckering and needle breaking, whereas loose density leaves the fabric exposed.
- Underlay Stitches: Foundation paths (center run, edge run, or wide zigzag) are used for stitching the garment’s backing to support the top stitches.
- Pull Compensation: Thread pull naturally causes fabric to pull inward along stitch paths. Raising pull comp by 0.2mm to 0.4 mm will prevent designs from warping.
- Garment Choice: Fleece and knit fabrics require more grid underlay compared to flat twill.
After you are done with all your technical settings, it’s time for you to digitize your stitches.
Step 5: Digitize in Software (Wilcom, Hatch)
Knowledge about how to digitize a logo involves a combination of artistic judgment and software applications like Wilcom EmbroideryStudio and Hatch Digitizing.
- Import Source Graphic: Import your high-resolution SVG/AI vector reference file.
- Assign Manual Paths: Assign manual paths instead of using auto-tracing, as this often causes stitching direction errors.
- Stitch Order: Place background fills before moving towards foreground fills and outlines to prevent thread clogging.
- Insert Commands: Add manual tie-offs, trims, and needle color change commands to ensure the backside is neat.
After digitizing, the only thing left to do is conduct a real sew test and export to the correct machine format.
Step 6: Test Sew-Out and Export the Right Format
Never proceed with a new production batch until you have run a physical test sample.
- Run Virtual Simulation: Make sure you have checked your software’s slow-draw feature for any bad travel paths or trims.
- Physical Sew-Out: Stitch the file on a scrap piece of your actual target fabric with matching backing.
- Check the Sample: Check for thread breaks, gaps in fills, unrecognizable letters, or puckering of fabric.
- Export the Final Files: Save the master file (EMB) and export to machine files (DST, PES, EXP, JEF).
With the final file exported and confirmed, you may be curious about whether AI can automate this whole process.
Can ChatGPT or Auto-Convert Tools Make Embroidery Files?
While general AI chatbots like ChatGPT can create text and code, they cannot create sew files utilizing software such as DST or PES.
While AI assists in writing project briefs or simplifying artwork concepts, automated web converters fail to calculate physical thread dynamics. They ignore fabric stretch, pull compensation, and underlay, which can cause needle breakage and bad clothing. Knowing how to manually digitize a logo is still important for professional sewing.
DIY vs Professional Digitizing: Time and Cost
Deciding whether to digitize artwork in-house or outsource depends on your budget, turnaround requirements, and hardware experience.
| Factor | DIY (Wilcom / Hatch Software) | Pixel Digitizing Service |
| Upfront Cost | 1,000–4,000+ software license | $0 initial software investment |
| Learning Curve | High; requires months of practice | None; handled by experienced digitizers |
| Turnaround Time | Hours spent testing & tweaking | Delivered within 12–24 hours (1–2 hr rush available) |
| Per-File Cost | Labor time + wasted test garments | Starting at $7 (left chest) |
| Revisions | Self-corrected | Free revisions within 7 days |
If you need to convert logo to embroidery file formats for your machine without investing thousands in software, upload your artwork to our team for an exact quote.
Final Takeaways
Converting flat graphics into excellent embroidery takes accurate vector design, correct stitching, density control, and real-world testing. By using this approach or utilizing the services of Pixel Digitizing, clean-looking letters and trouble-free production are assured every time you stitch.
Convert your logo into flawless, machine-ready embroidery files with Pixel Digitizing for fast delivery at budget-friendly rates.
FAQs
1. How do I turn my logo into an embroidery file?
Import vector art into the digitizing program, create a stitch path, add underlay, test stitch, and save as DST or PES format.
2. How to simplify a logo for embroidery?
Eliminate gradient colors, increase the width of the hairline path, increase the size of the text, and eliminate unnecessary colors.
3. How can I convert an image into an embroidery design?
Import your raster image into digitizing software or outsource it to map manual stitch directions and thread parameters.
4. Can ChatGPT create embroidery files?
No, ChatGPT cannot generate sew-ready files. It helps outline designs, but lacks spatial pathing to plot needle coordinates.